Install Station
This is the complete walkthrough: run one command, answer a few questions, and log into your dashboard. It takes about 10 minutes.
Before you start, make sure you've prepared a server and domain — see What You Need. In short, you'll want:
- An Ubuntu 20.04 / 22.04 or Debian 11 / 12 server with root or
sudoaccess - Your domain's A record already pointing at the server's IP (or a DuckDNS account ready to go)
- Ports 80, 443, 4001, and 4002 reachable from the internet
Here's the whole thing, start to finish — one command, a few prompts, and a setup PIN:
The rest of this page walks through each step.
1. Open a terminal on your server
Connect to your server. Most cloud providers offer a web-based console you can open right from their dashboard — no setup required. Or connect over SSH if you prefer:
ssh root@your-server-ip
2. Run the installer
curl -sSL https://qnch.network/install.sh -o install.sh && sudo bash install.sh --network testnet
The --network testnet flag joins the testnet — a separate network for trying Station out. Mainnet isn't live yet; we'll update these docs the moment it launches.
The installer runs as an interactive wizard. Here's every question it asks, in order.

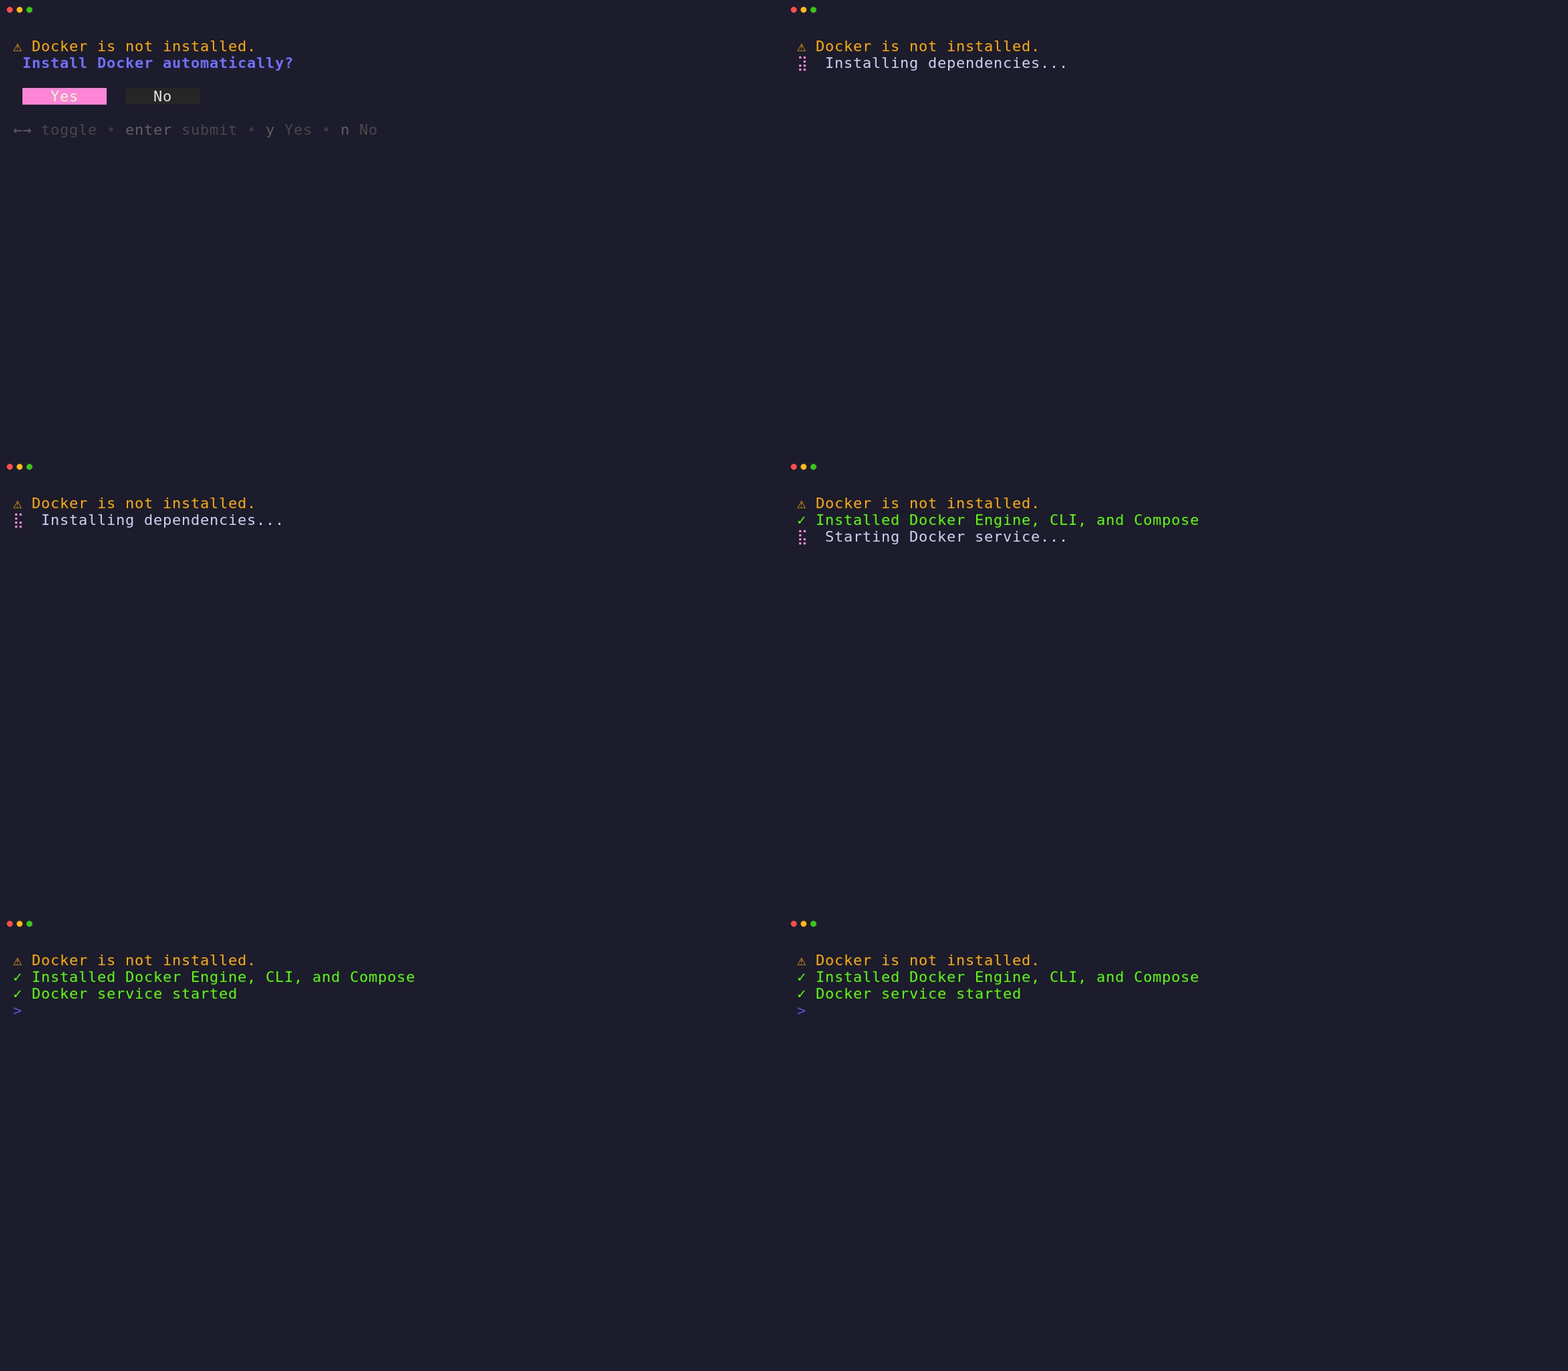
Install Docker?
If Docker isn't already on the server, the wizard offers to install it for you (default: yes). Station runs as a set of Docker containers, so this step is required. Automatic installation works on Ubuntu and Debian.
Configure your domain
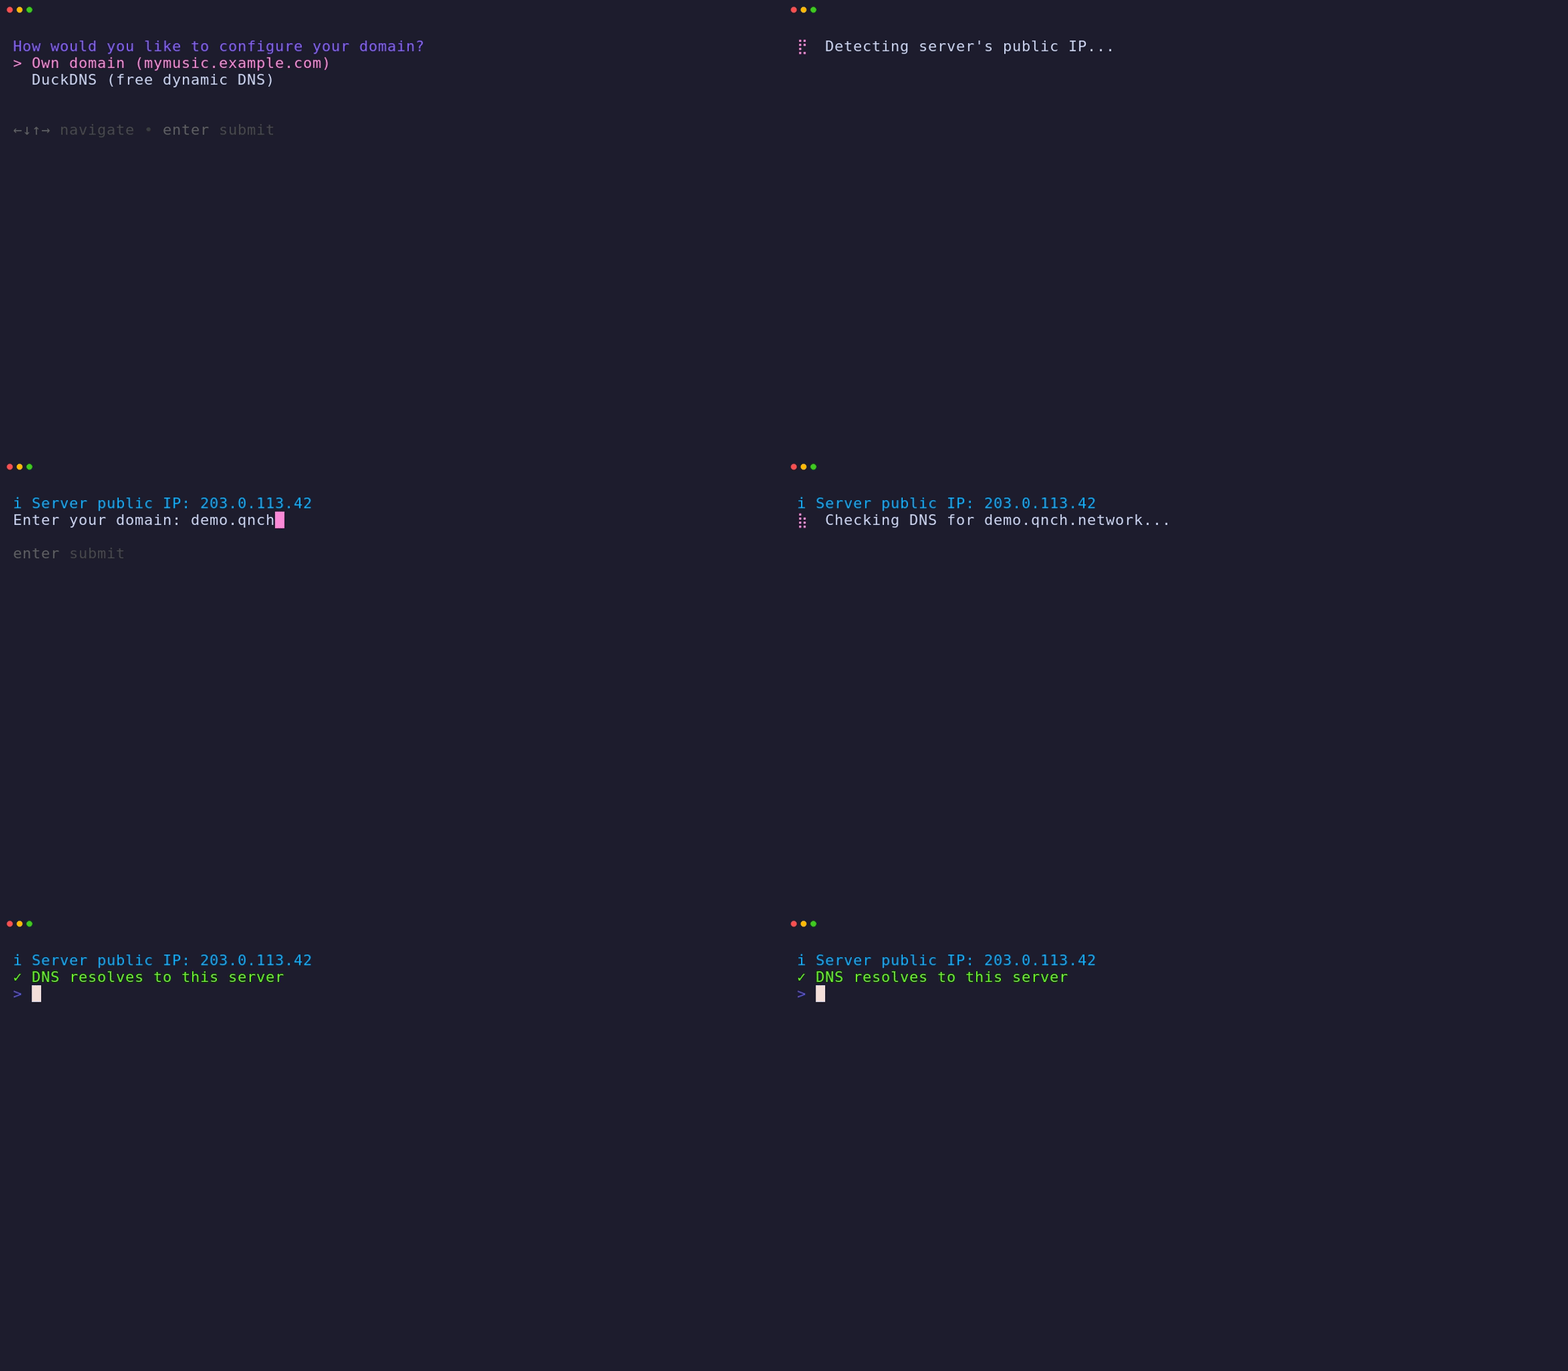
Choose how listeners will reach your server:
- Own domain — enter your subdomain (e.g.
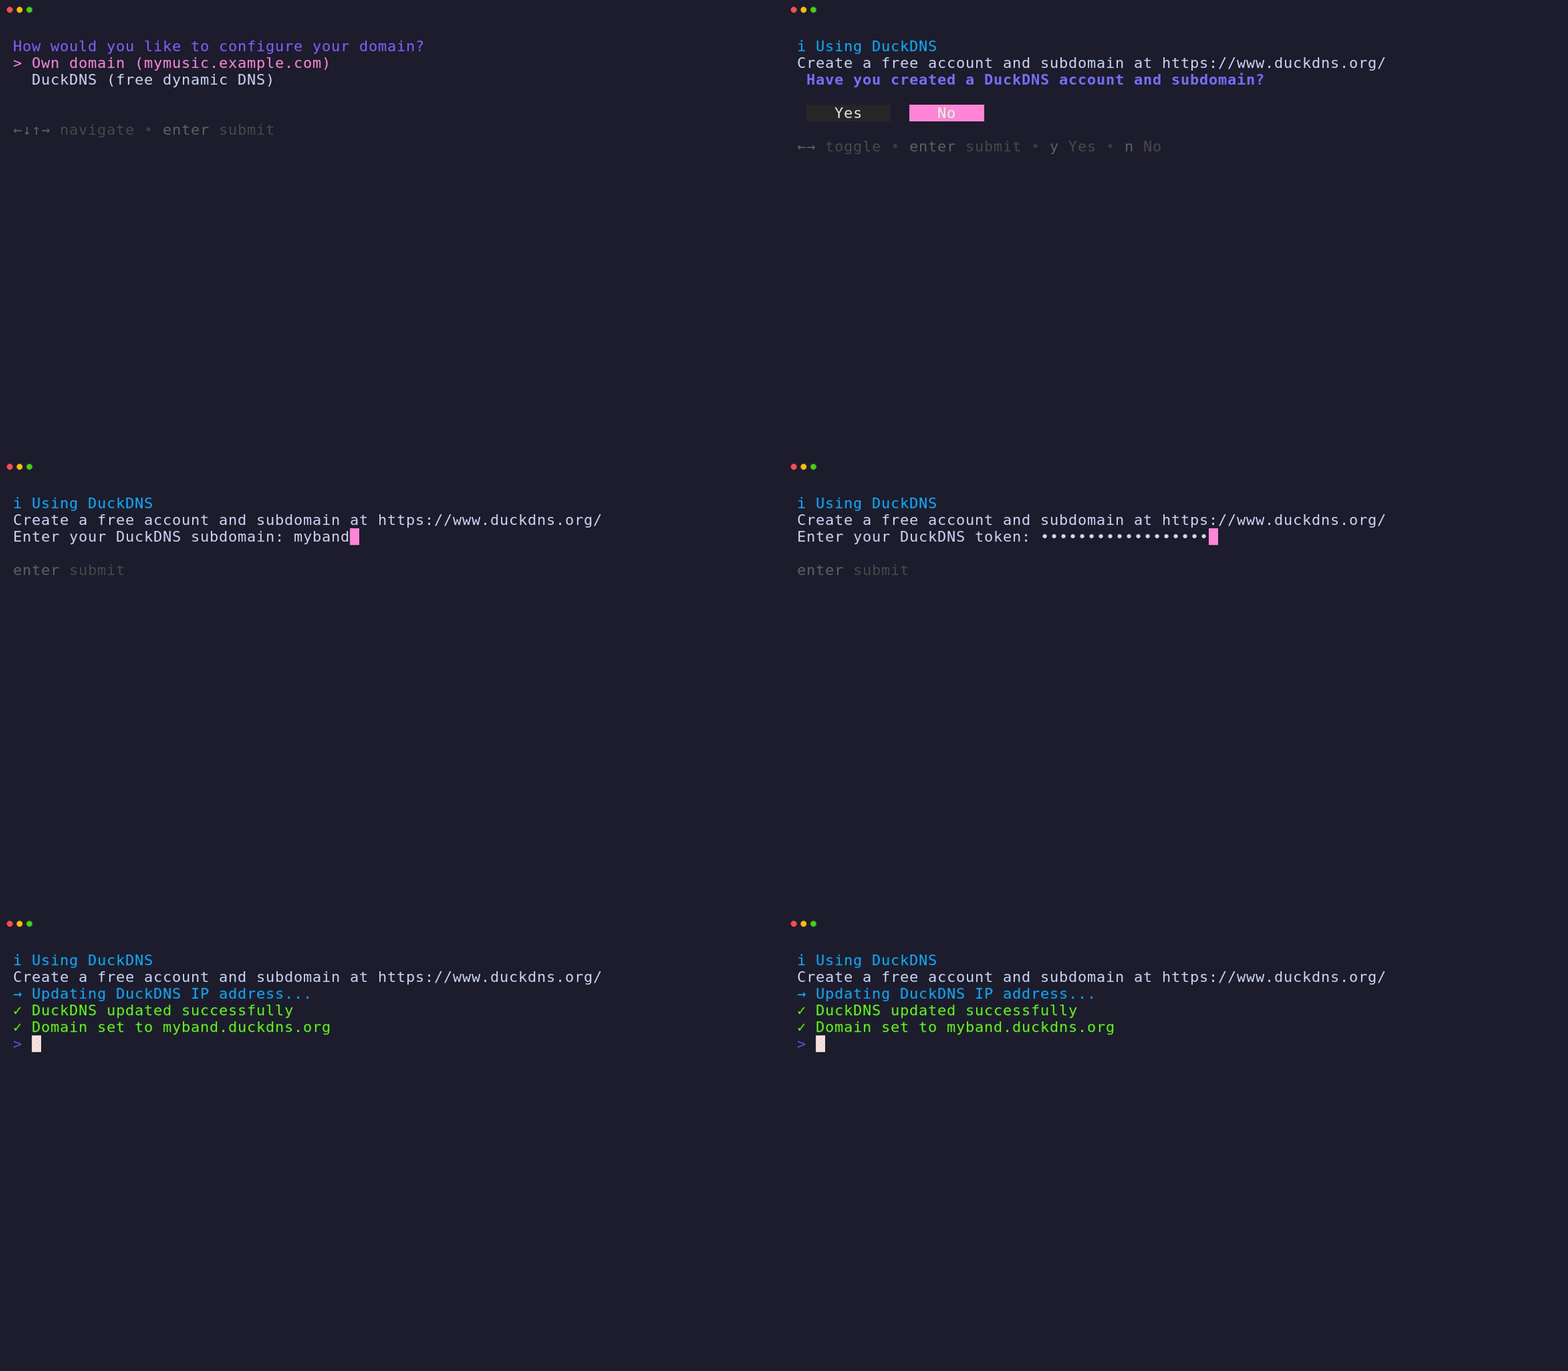
music.yourdomain.com). The wizard detects your server's public IP and checks that your domain points to it. If DNS isn't ready yet, it shows you the exact A record to create and lets you retry. - DuckDNS — enter your DuckDNS subdomain and token, and the wizard configures it for you.
Using DuckDNS instead? You'll confirm your account, then enter your subdomain and token:
Email for HTTPS
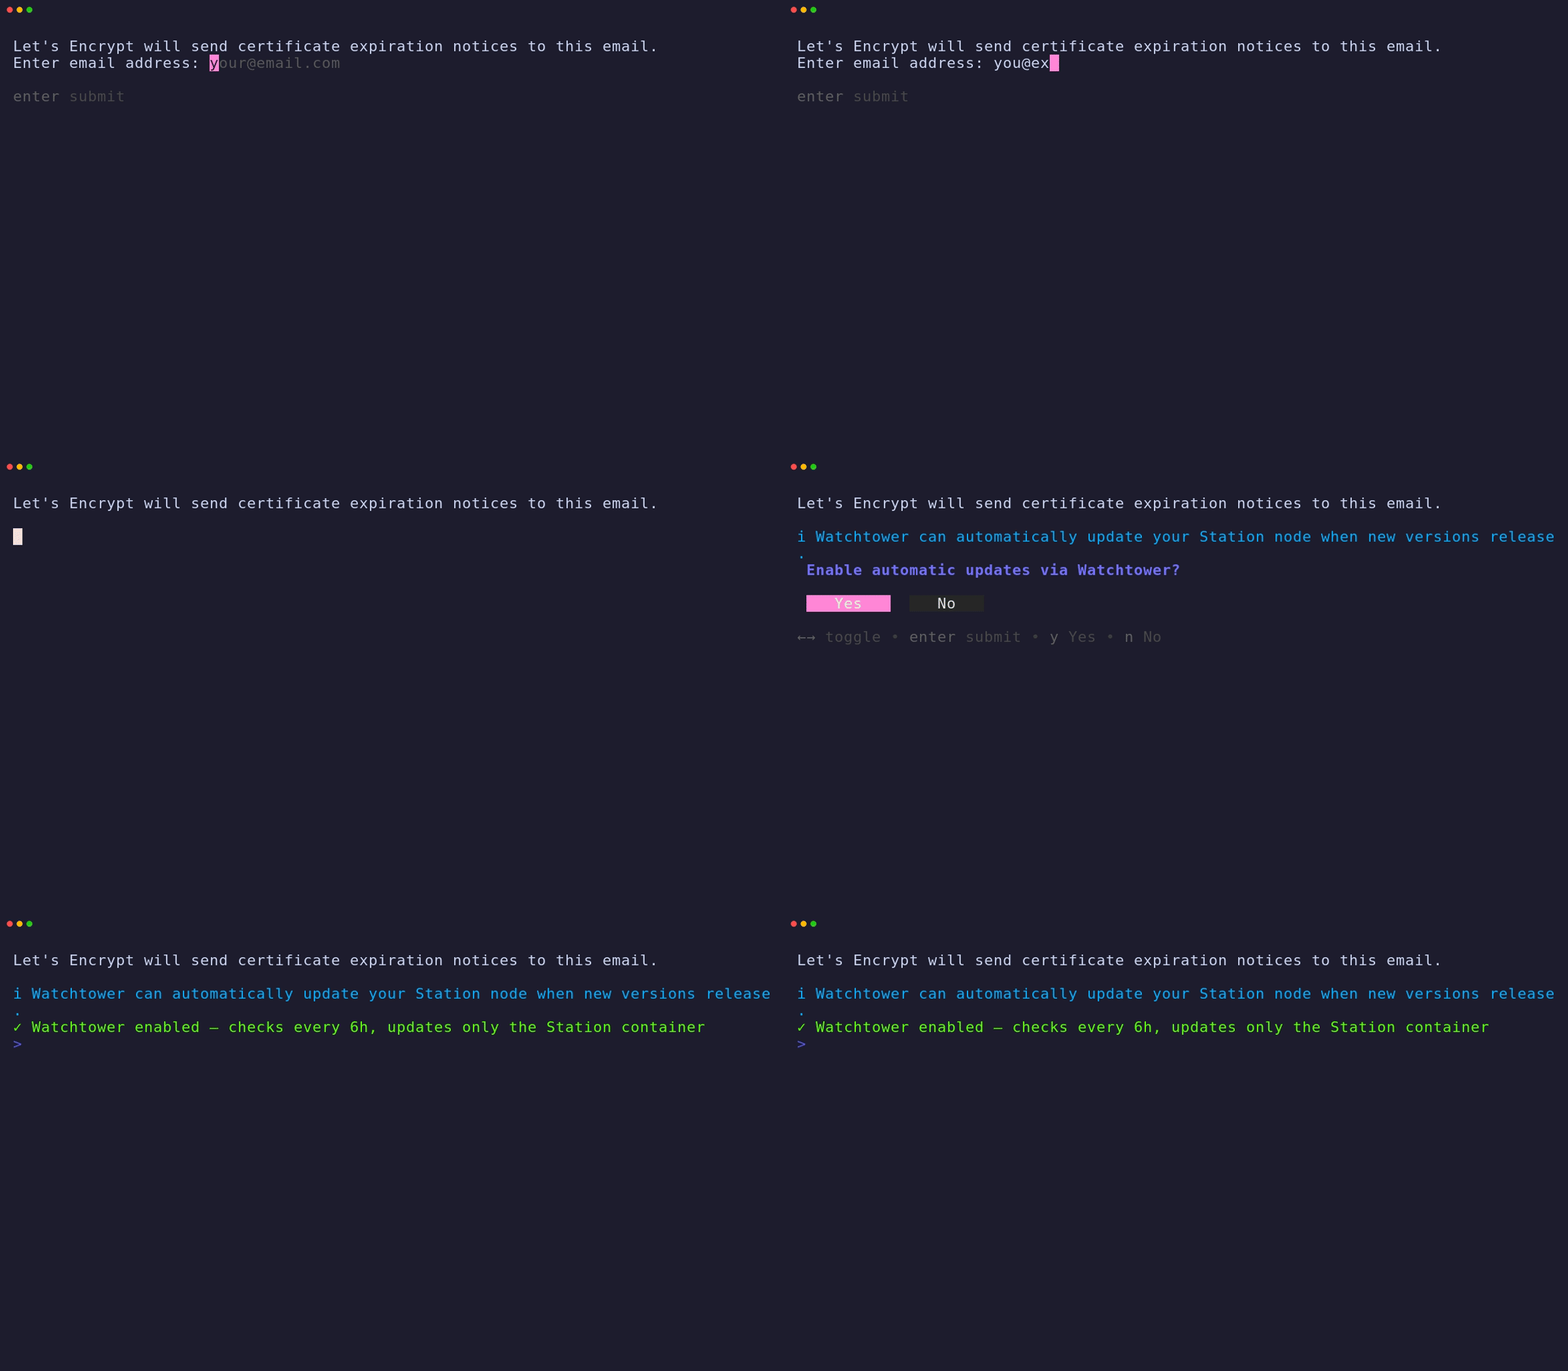
Enter an email address (optional). Let's Encrypt uses it to send certificate-expiry reminders in case automatic renewal ever fails.
Automatic updates
Choose whether to enable Watchtower (default: yes), which keeps your Station node up to date automatically. You can turn this off later from the dashboard.
3. Let it finish
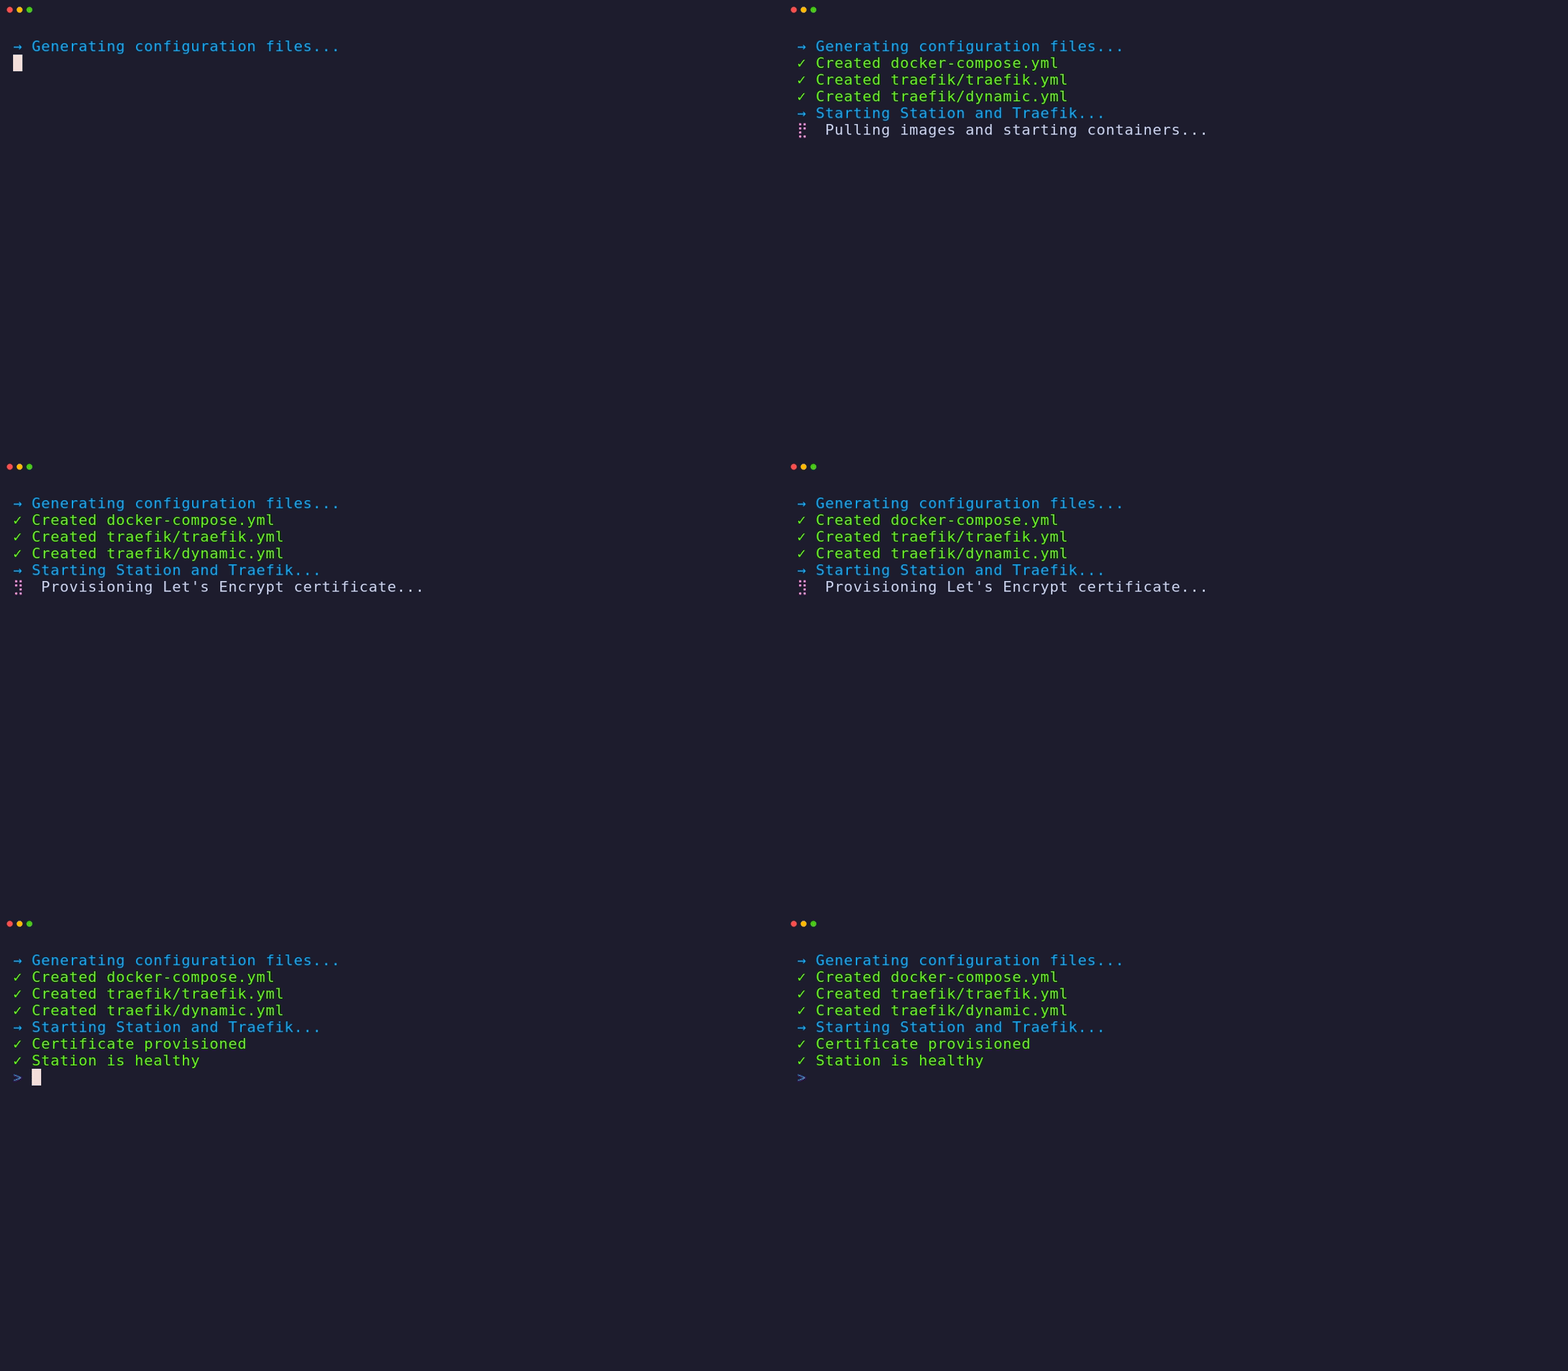
After the last question, the wizard does the rest on its own — no more input needed:
- Generates your configuration and starts the containers (your Station node plus a Traefik reverse proxy for HTTPS)
- Provisions a free HTTPS certificate from Let's Encrypt (this can take 30–90 seconds)
- Waits for your node to come online
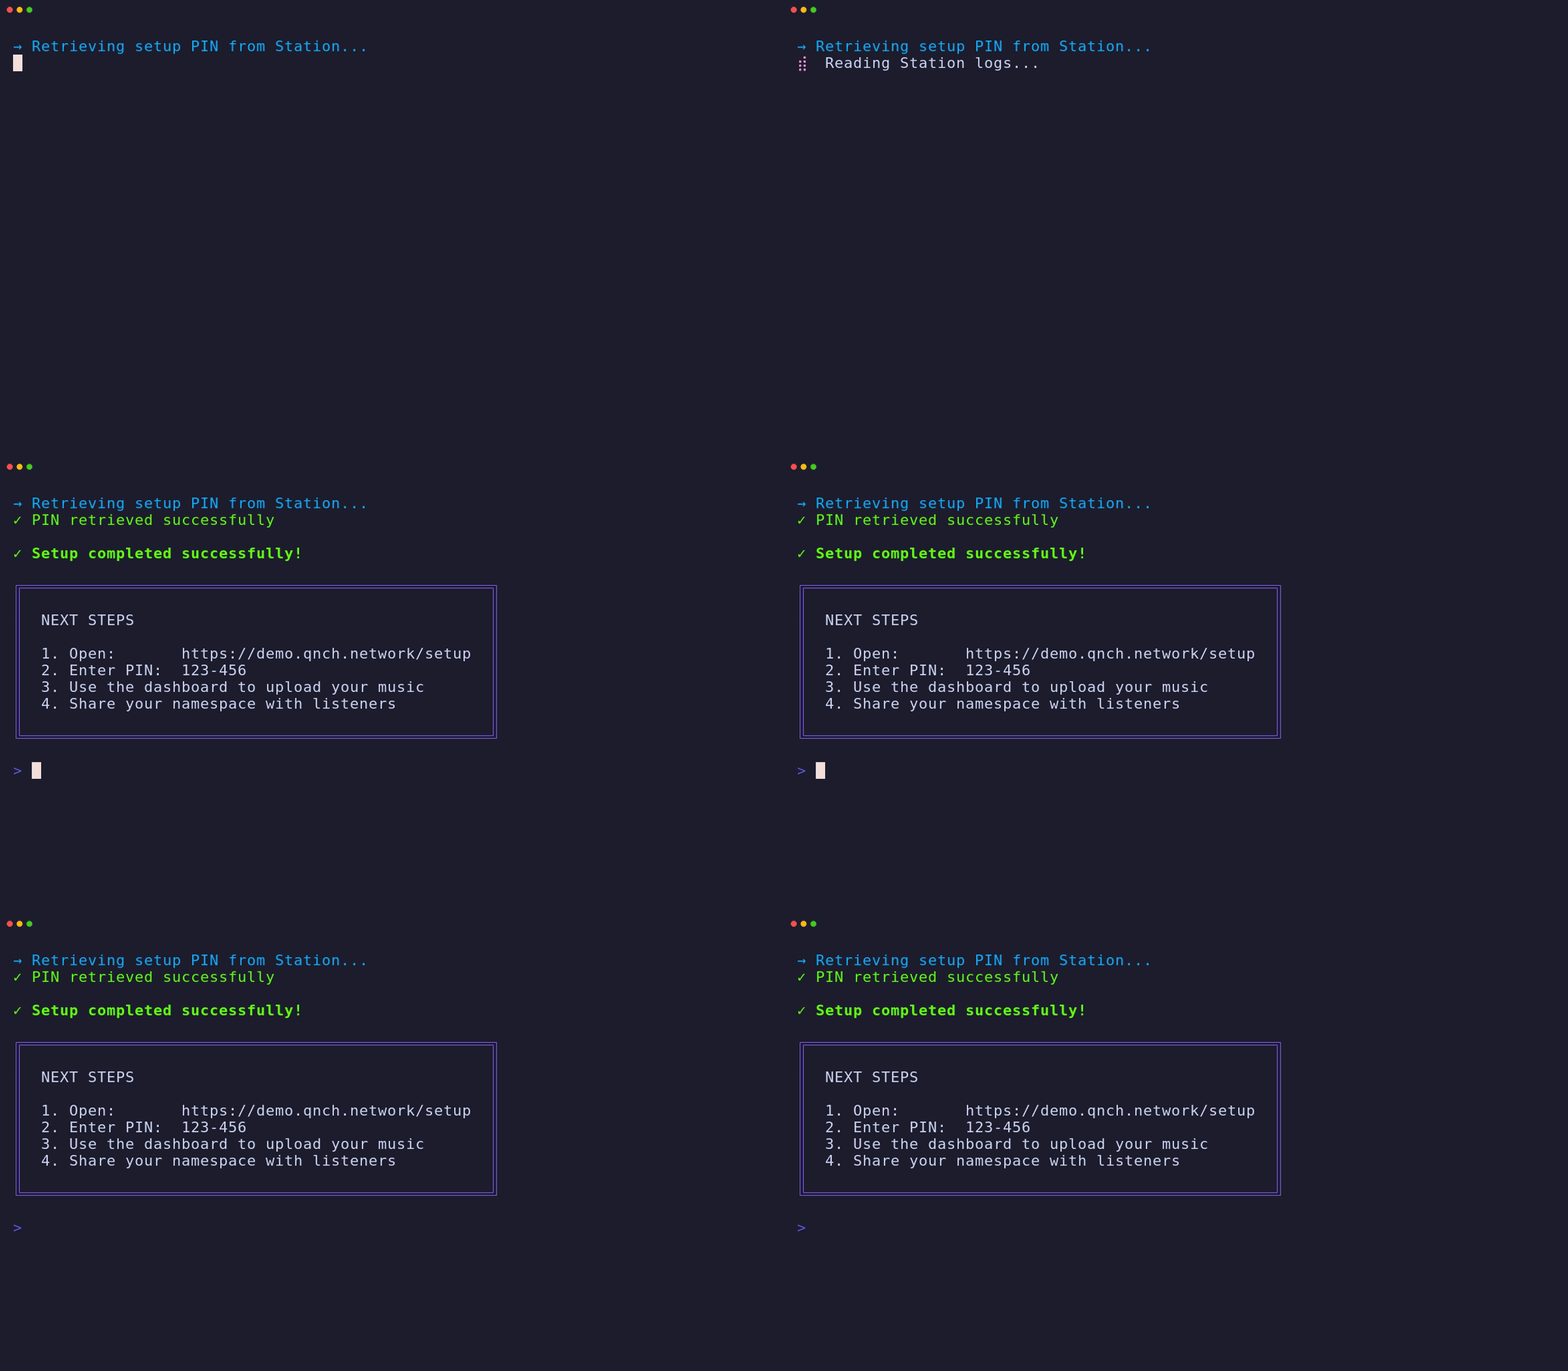
When it's done, you'll see Setup completed successfully along with a setup PIN in the form 123-456. Keep it handy for the next step.
4. Create your dashboard login
Open your domain with /setup on the end:
https://music.yourdomain.com/setup
Enter the PIN from the installer to create your login. This is your artist dashboard — where you upload music, build your storefront, and manage everything.
The setup PIN is short-lived. If it stops working before you log in, generate a fresh one on the server, then re-enter it at /setup:
docker compose -f docker-compose.yml restart station
docker compose -f docker-compose.yml logs station | grep -oE '[0-9]{3}-[0-9]{3}' | tail -1
Run these from the directory where you ran the installer.
You're live
Your Station server is running and your music is ready to share. Next:
- Explore your dashboard → Features
- Upload your first release → New Release
- Manage and update your server → Managing Your Server
Share your namespace so fans can find you on the listener app.
Troubleshooting
Certificate didn't provision, or the site won't load over HTTPS
- Confirm your domain's A record points to the server and DNS has propagated.
- Make sure ports 80 and 443 are open to the internet — port 80 is required for certificate validation.
- Check the reverse proxy logs:
docker compose -f docker-compose.yml logs traefik
Can't reach /setup
- Give the installer a minute to finish and the certificate to issue.
- Confirm the containers are running:
docker compose -f docker-compose.yml ps
The installer says a port is already in use
- Something else is using port 80 or 443. Stop it (or let the wizard stop it when prompted) and re-run the installer.
Still stuck? Open an issue on GitHub.